 Last modified:
Wednesday, 20-Oct-2021 14:35:21 UTC. Maintained by: Elisa E. Beshero-Bondar
(eeb4 at psu.edu). Powered by firebellies. Last modified:
Wednesday, 20-Oct-2021 14:35:21 UTC. Maintained by: Elisa E. Beshero-Bondar
(eeb4 at psu.edu). Powered by firebellies.
Last modified:
Wednesday, 20-Oct-2021 14:35:21 UTC. Maintained by: Elisa E. Beshero-Bondar
(eeb4 at psu.edu). Powered by firebellies. Last modified:
Wednesday, 20-Oct-2021 14:35:21 UTC. Maintained by: Elisa E. Beshero-Bondar
(eeb4 at psu.edu). Powered by firebellies.We take photos using a phone or a hand-held camera. Why not a flatbed scanner? Because in the archives a phone (or a hand-held camera) is less invasive or potentially damaging to the archival material. In the archives we need to minimize the amount of physical manipulation of documents in order to protect them.
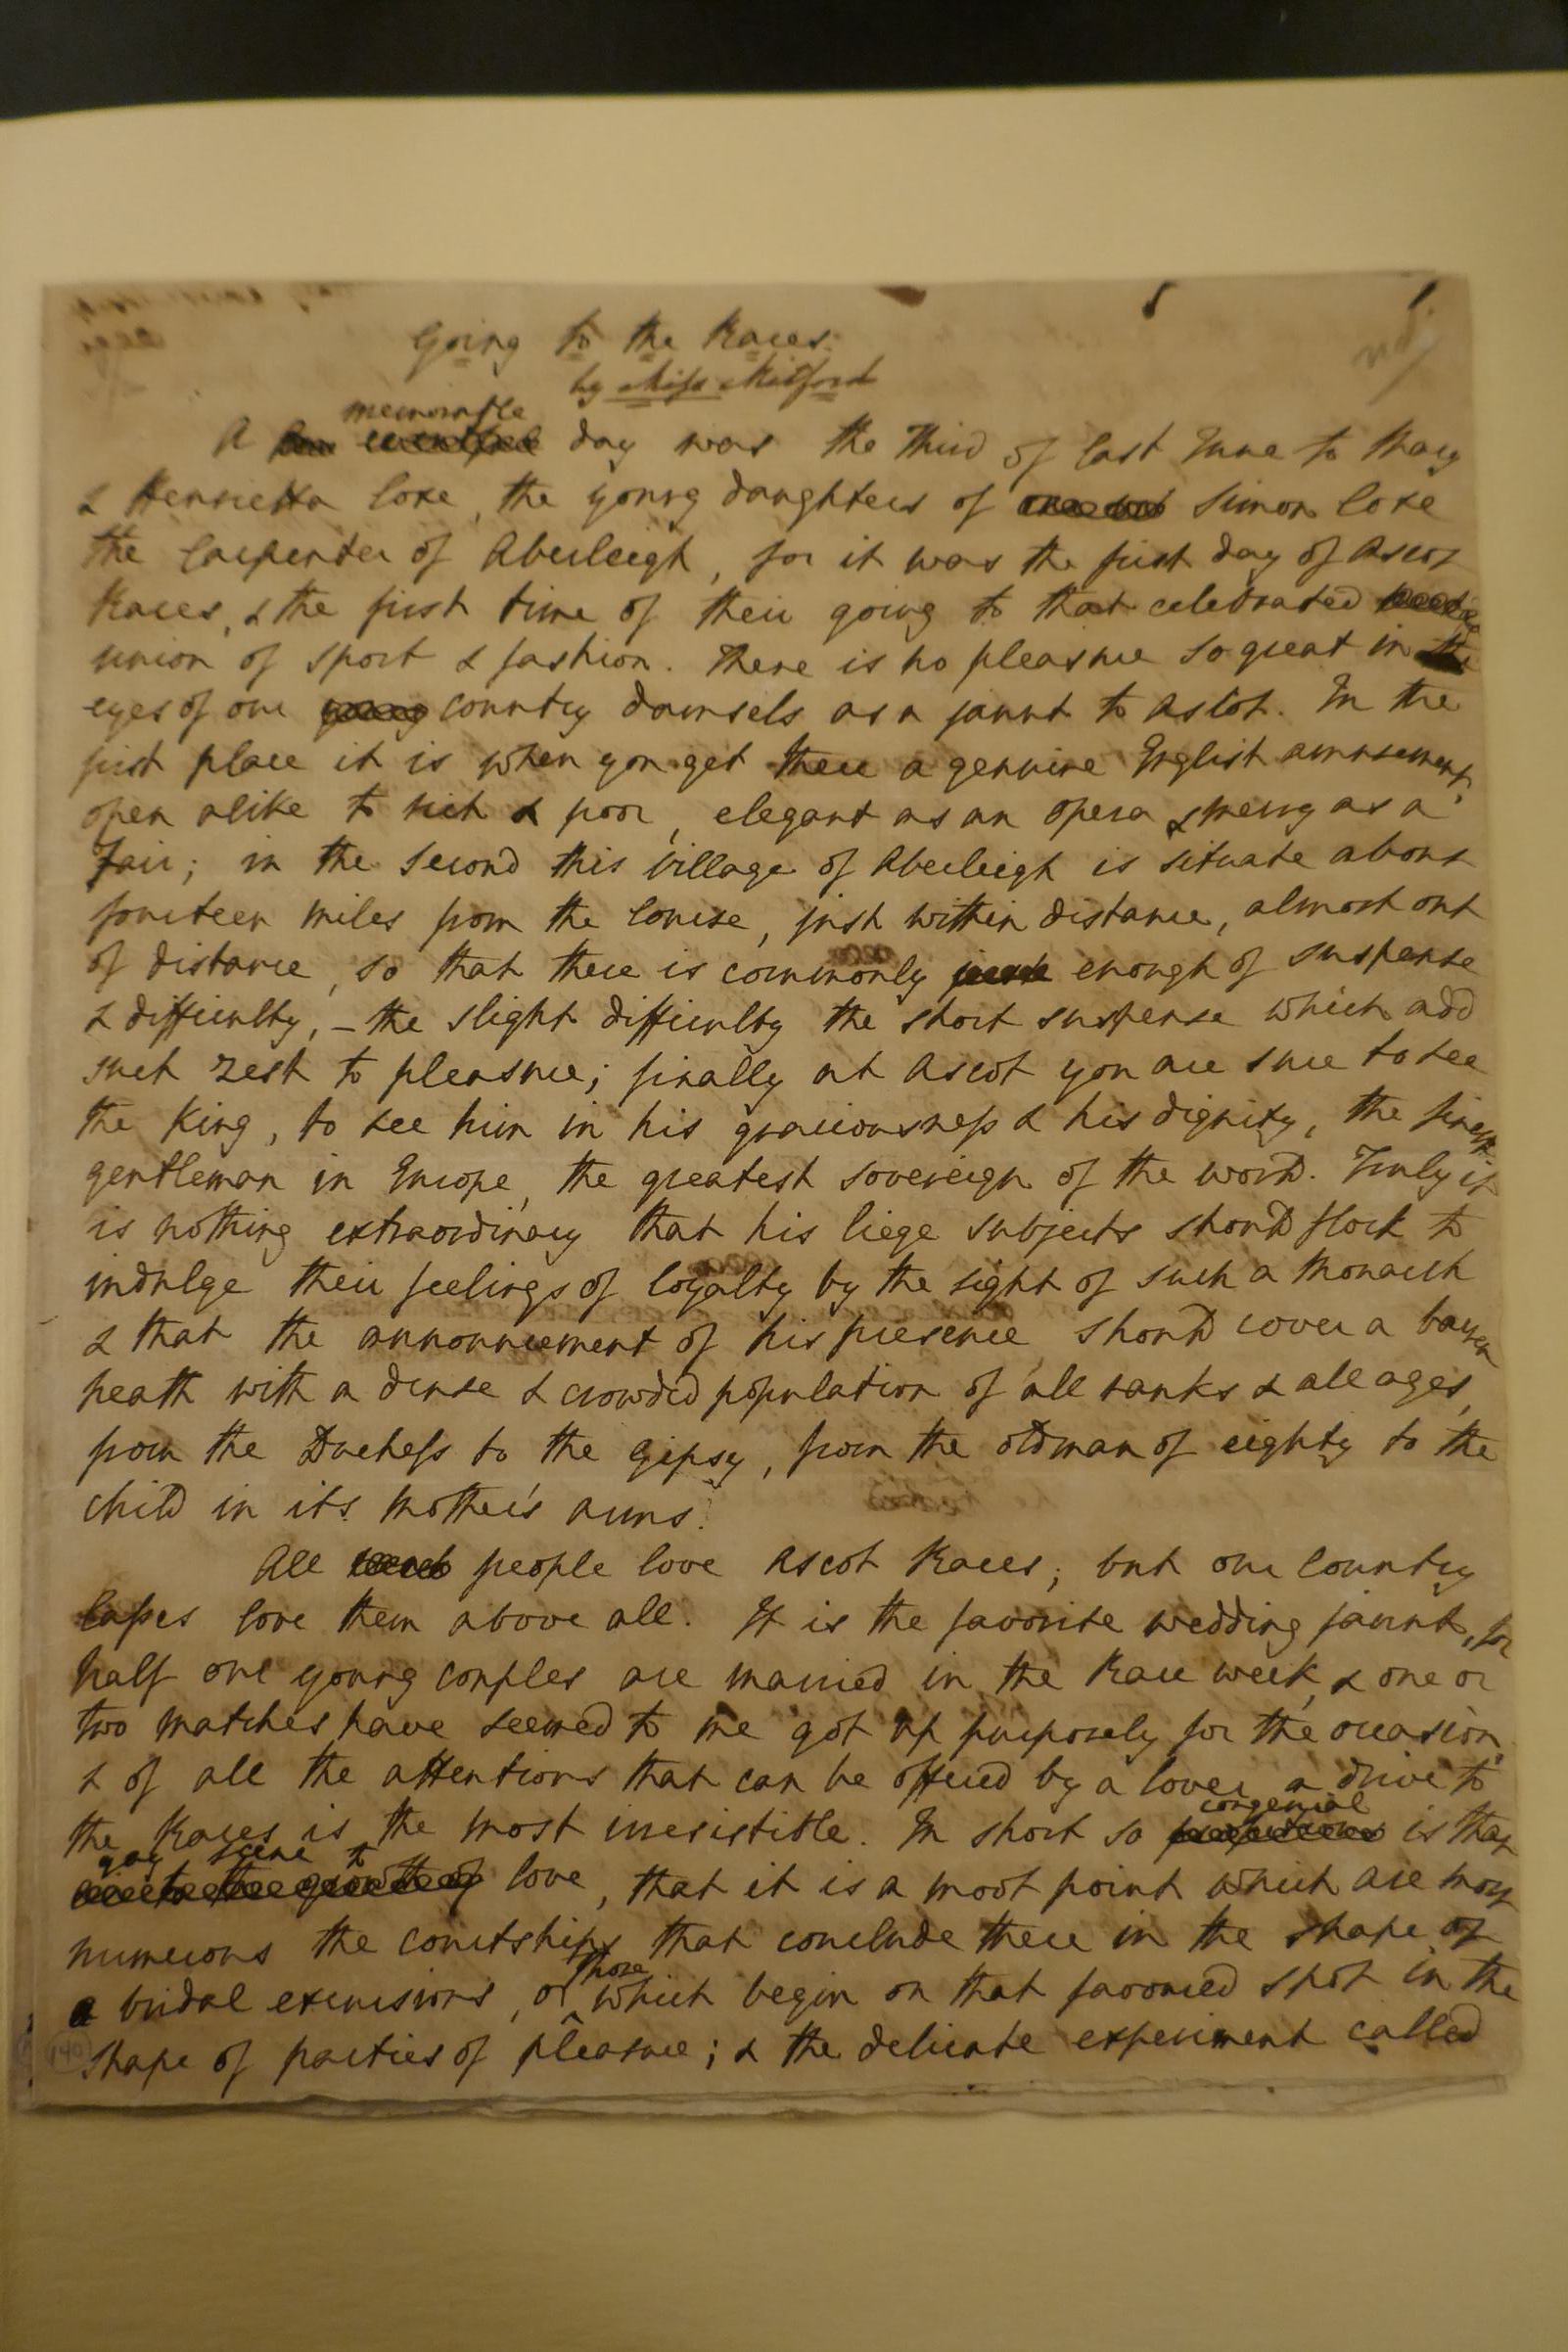
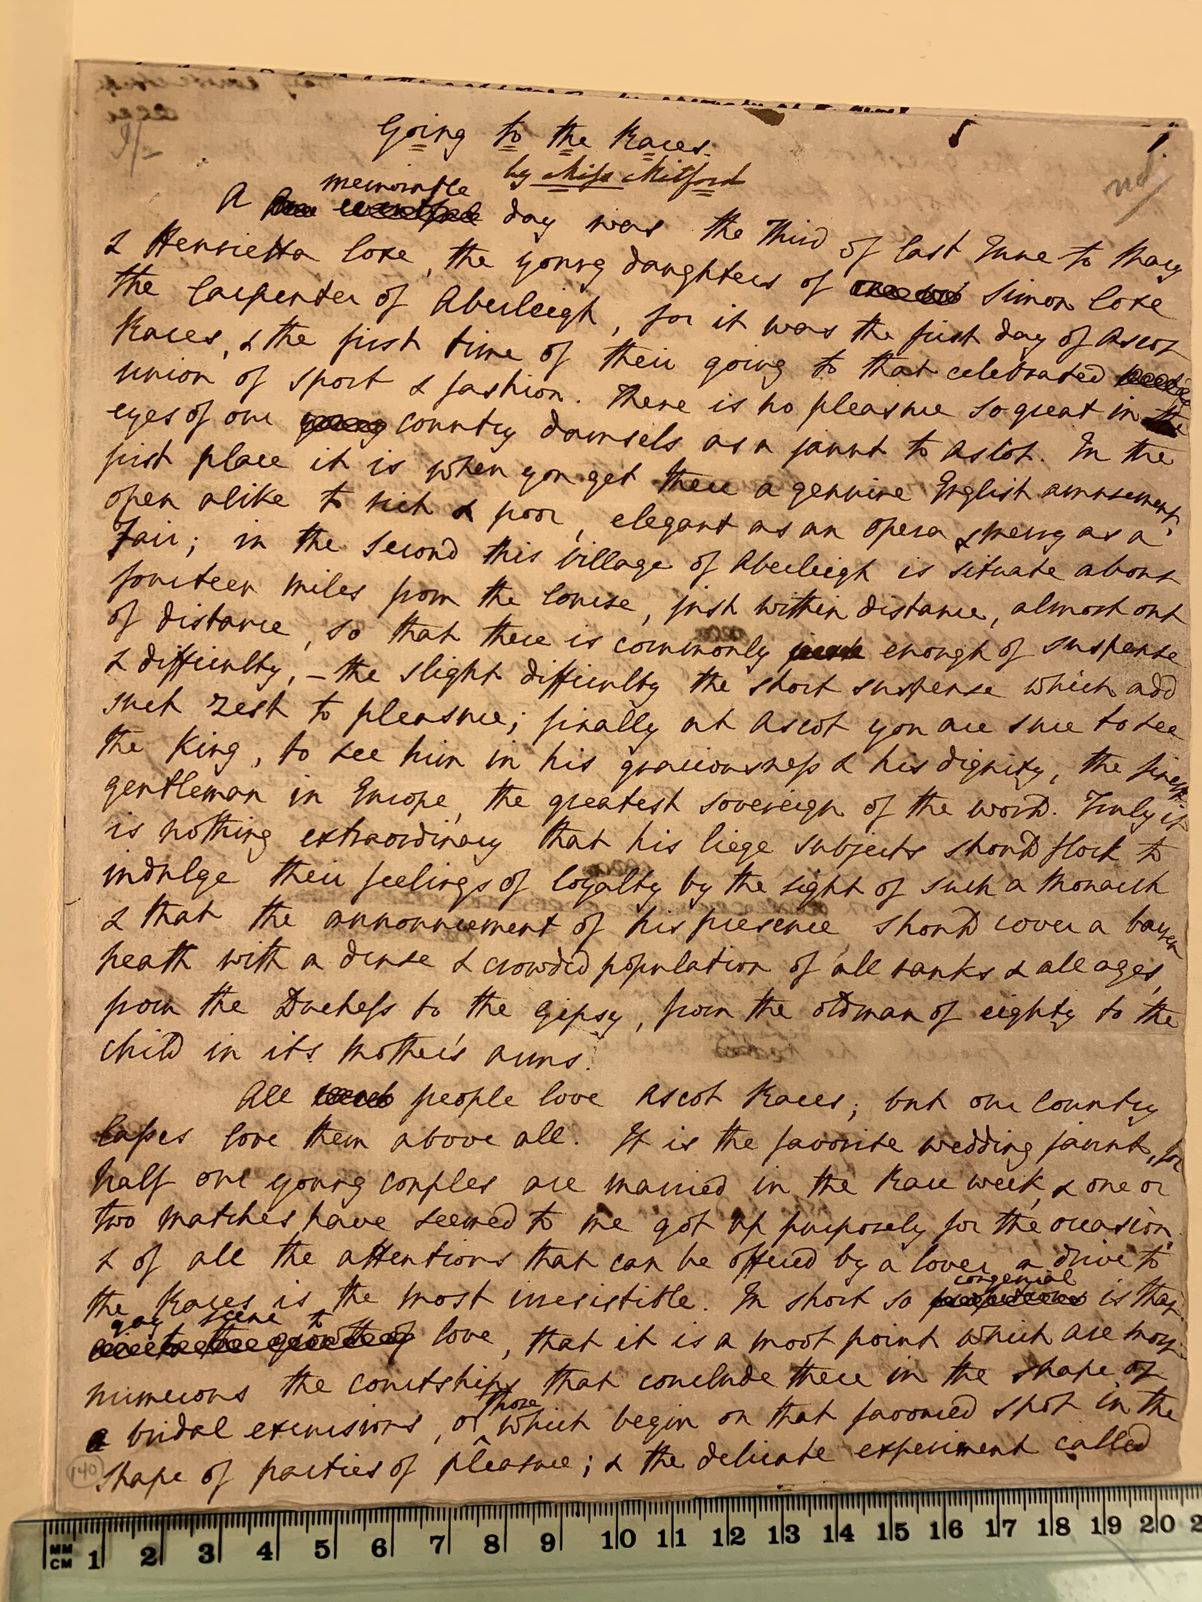
These notes are based on recent experience (2018 and later) with photographing hundreds of handwritten nineteenth-century documents in various library archives. In our experience, a smart phone camera set to focus on the text written on a manuscript had the effect of enhancing the clarity and sharpness of the text by effectively flattening
the surface. When we worked with a hand-held camera, the precision of the camera imaging would sometimes result in blurred areas from shadows on the surface that we did not see when photographing with a smart phone. We are now, as a result, relying on a smart phone in the library archives. However, depending on your available equipment, available lighting, and the even height of the photographer (as in how far away you are from the document: too close may be a problem), your experience may vary, and you should experiment for yourself.
For building a digital archive published in HTML on the web, we need interchangeable image file formats. Acceptable image formats for reliably sharing over the web are jpeg, png, and gif, about which [read more here](https://www.unleadedsoftware.com/news/jpg-png-or-gif-which-one-should-you-use-and-when). Of these, the one produced by cameras is typically the jpg.
When taking pictures with your camera, you will need to upload them to a computer and organize them according to a good system for your project. You will not need for your images to be so large when distributing over the web, because web browsers tend to magnify the images, and because large file sizes will slow people’s interaction with the website you are building. GitHub has a strict limit preventing commits and pushes of files at or above 100MB. The images we posted here on this page are between 400 and 500 KB in size, and we used CSS to constrain the proportion of their display on the page. When you import image files on your computer, take careful note of the file sizes you are working with.
By default, iOS phones in our time save images in the .HEIC format by default. These are a series of multiple images making a very short animated sequence. If you can do so, before taking photos in the archives, go to the Settings >> Camera in your phone and shut off the HDR setting. Select Keep Normal Photo
or most compatible image format. When you send images from your phone to your computer, if they still come in as .HEIC, we can convert them with a batch converter: we recommend working with iMazing.
Your phone or your camera will not save files with names that easily remind you of the content of the images. The best you can do with the default filenames is tell the order in which you took the pictures on a given day. When building a website, we strongly recommend renaming your image files to help tell briefly at a glance their content. Remember that filenames should never contain spaces or special characters, and ideally, only use a period before the file extension, as in: mbcalend-1909-01-14.jpg for a page from the Mary Behrend 1909 calendar dated January 14, 1909. Saving your files in this way, in a designated images/ folder in your website directory (within docs/ on GitHub Pages), makes it easy to sort the files and retrieve the images you need quickly while coding your website.
We cannot emphasize enough that you need to avoid using spaces and punctuation in naming file folders and files! Work with your project team to decide on a good, clear plan for naming your image files in the project, and create a clear file directory structure for these in your shared GitHub repository.
If you wish to reduce the filesizes of your images to make these easier and faster to load on a page, we recommend first of all that you keep a copy of your original images somewhere on your computer. You will want to experiment with resolution and compression a little, and you should always start each experiment from the original version of the files. Only process the original images and save outputs in their own new directories.. (Be careful not to save over your original files!)
We are developing this section, working with the following resources:
We will be adding more about how to work with Image Magick and Adobe Photoshop as we continue to develop this tutorial.