
 Last modified:
Tuesday, 01-Feb-2022 15:50:32 UTC. Maintained by: Elisa E. Beshero-Bondar
(eeb4 at psu.edu). Powered by firebellies. Last modified:
Tuesday, 01-Feb-2022 15:50:32 UTC. Maintained by: Elisa E. Beshero-Bondar
(eeb4 at psu.edu). Powered by firebellies.
Last modified:
Tuesday, 01-Feb-2022 15:50:32 UTC. Maintained by: Elisa E. Beshero-Bondar
(eeb4 at psu.edu). Powered by firebellies. Last modified:
Tuesday, 01-Feb-2022 15:50:32 UTC. Maintained by: Elisa E. Beshero-Bondar
(eeb4 at psu.edu). Powered by firebellies.First complete Git Exercise 1.
Then, experiment with writing GitHub markdown on the introDH-Hub Issues.
The goals of this assignment are:
Upon completion of this assignment you should feel confident about interacting on GitHub and working with files on your web repo. Our DIGIT courses require regular GitHub activity, so if you still feel uncertain on how to use Git or GitHub after completing this assignment please meet with an instructor. We will gladly assist you so you feel comfortable using GitHub on a regular basis.
To create a new repo, go to your GitHub profile on the web: Go to https://github.com and login, then find your personal profile.
Select the Repositories
tab, and click New
.
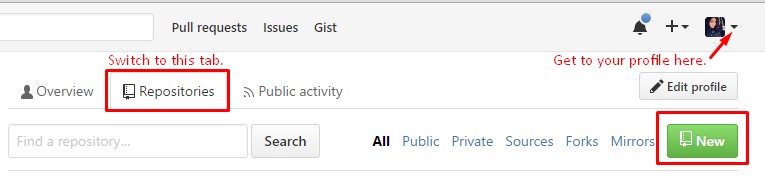
Give your repo a logical name (i.e. my_site), a brief description, and select
public
. During this course we ask you to keep this repo public so we can
view each other’s site development without everyone in the course having to be added
as a collaborator; however, you can switch this to private in the future.
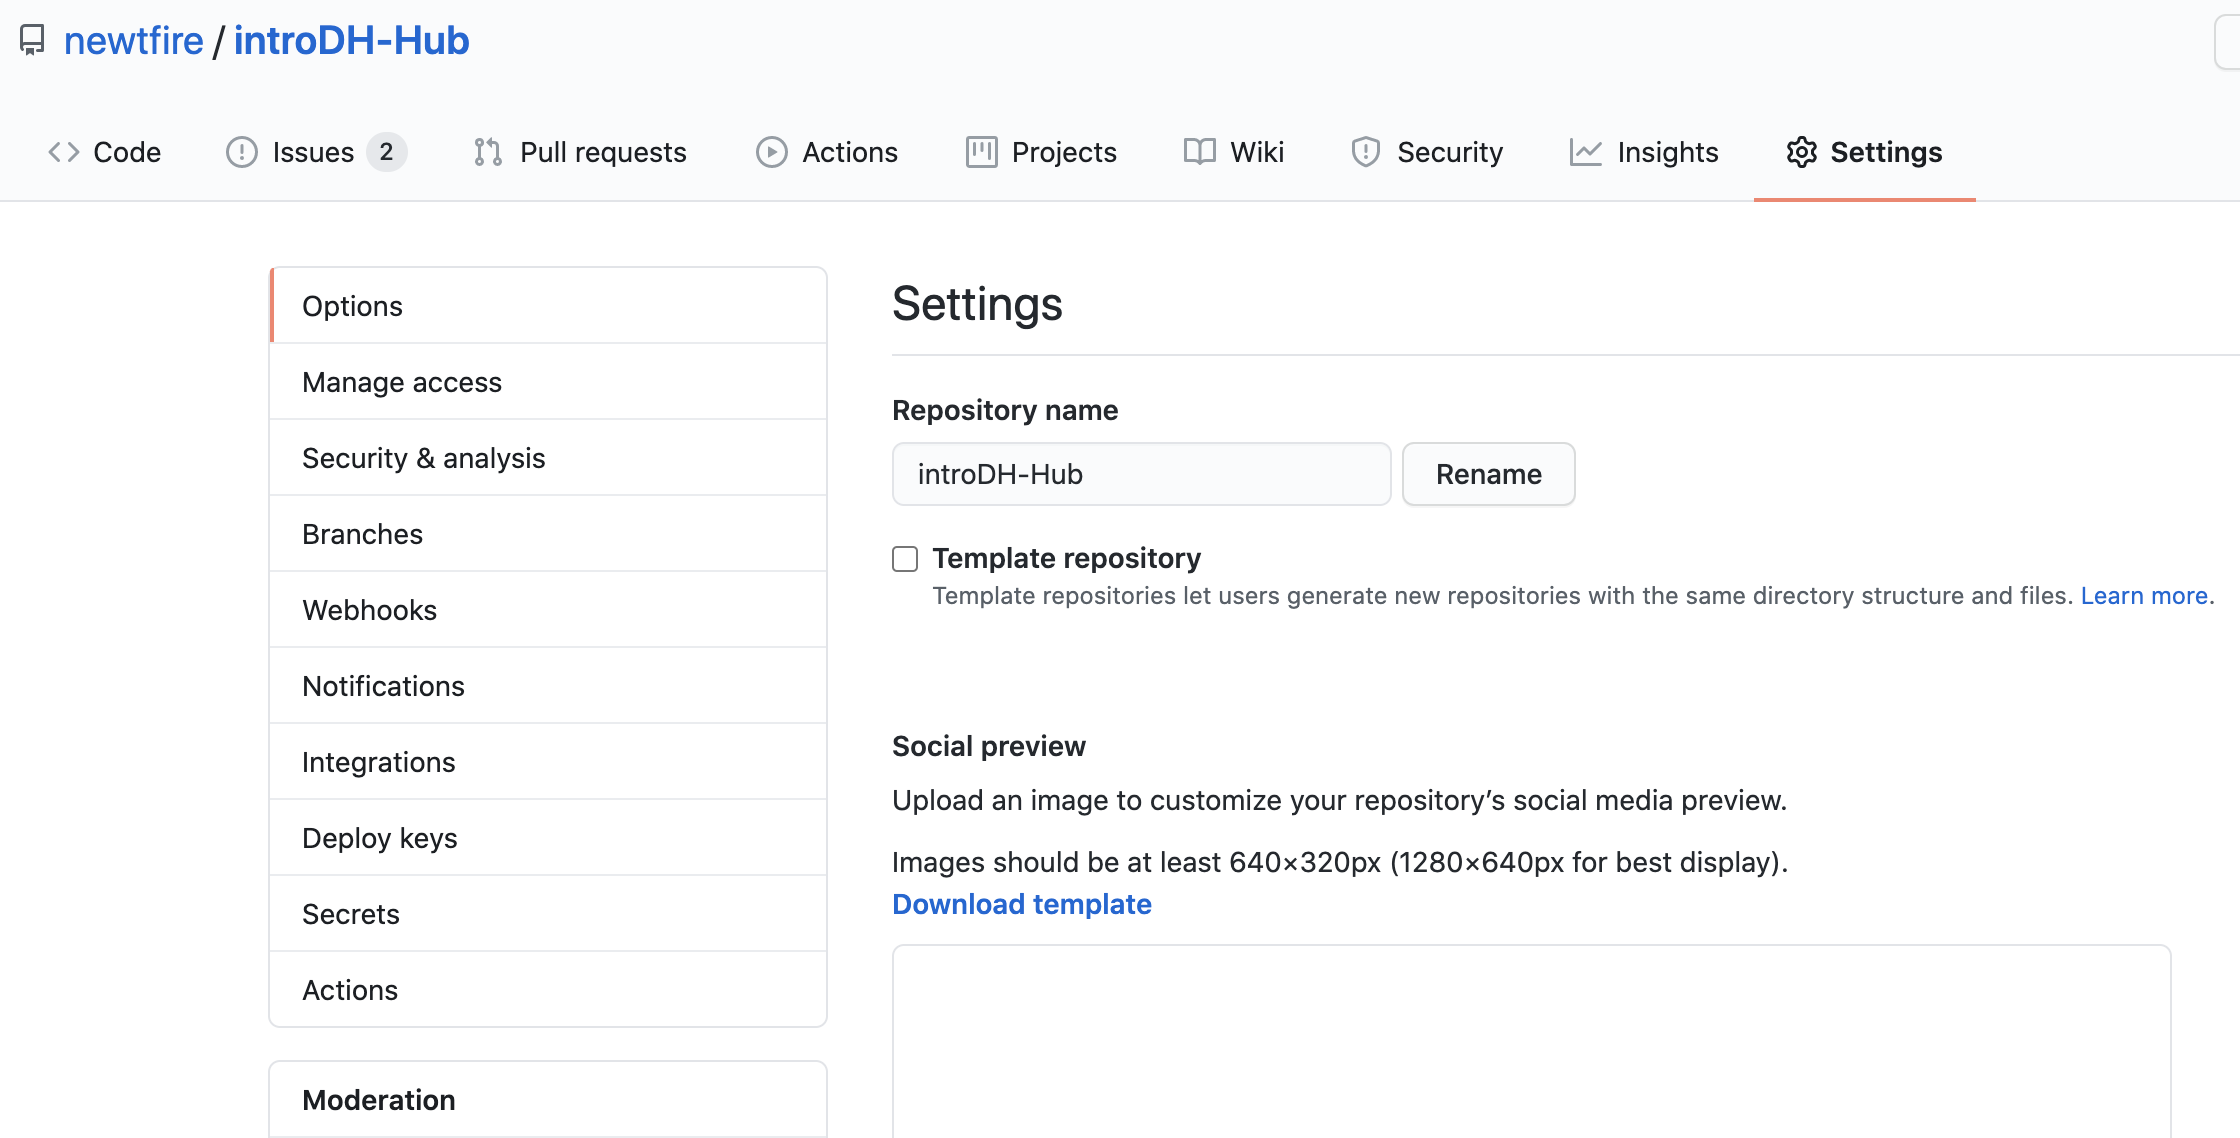
Next, navigate on GitHub to your personal page repo, and follow our
tutorial steps to
add a collaborator. Add your instructor(s) to your repo: Invite Dr. B as @ebeshero. After the
completion of this course you can remove any unwanted collaborators; however, for
this assignment we want you to practice adding at least one collaborator. Also when
creating your own repo you may need to change the settings to include an issues
board; follow these help.github.com directions to do so if the Issues
tab is not automatically there.
Now, configure your repository to support a GitHub Pages website. To do this:
docs to match this.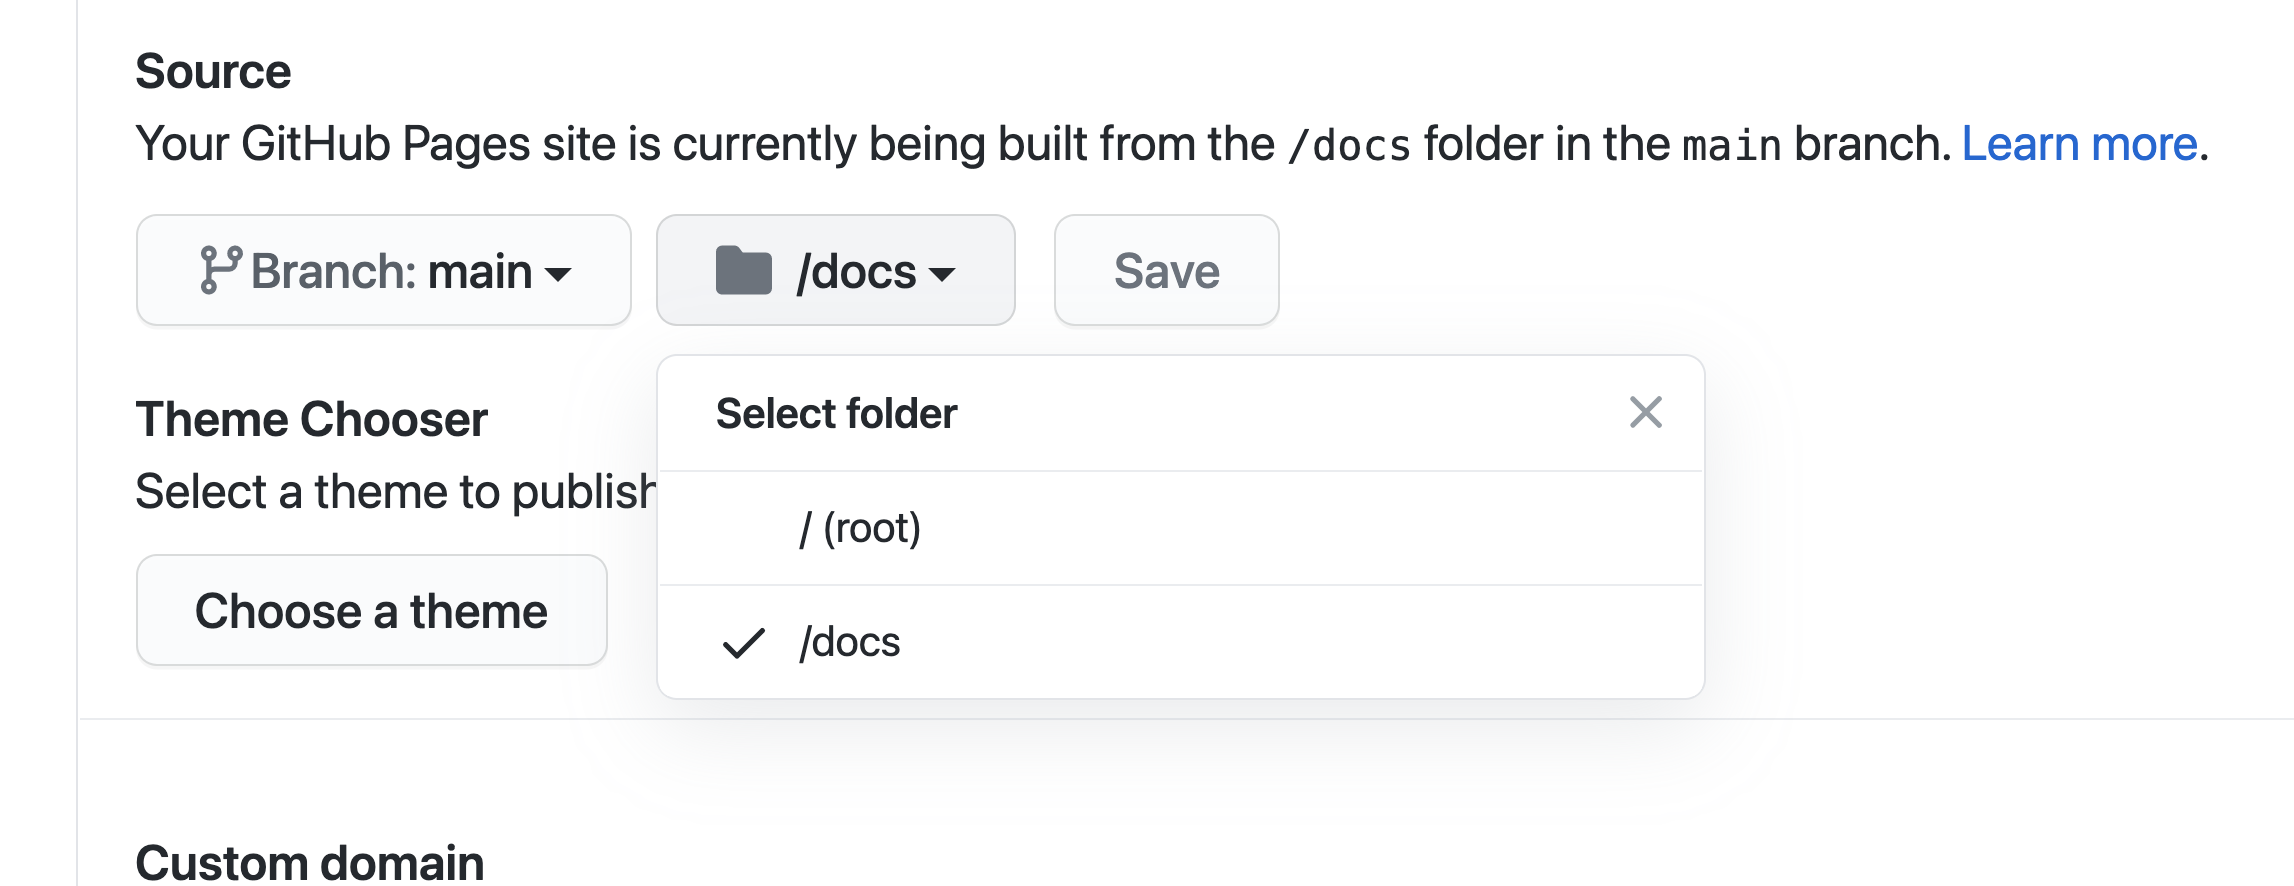
index.html page and save it in the docs directory. The index.html page is the landing pageon a website: It is always the first page in the web directory that displays when someone visits your website. For now, just as we are getting started, you can write this code directly in the web browser, though we will not normally be doing this. (On the next assignments, you will be working with the oXygen XML Editor which will help with error-correcting the syntax of your code as you build your pages.)
Add Filebutton. Then, create a docs directory and start your new file by typing in:
docs/index.html.index.html page required for your website:
Just to initiate your website, click the Edit new file
window in the docs/ directory, and copy this simple code and paste it into window:
                        <html>
                             <head>
                                 <title>My new webpage</title>
                             </head>
                             <body>
                                  <h1>Hello World!</h1>
                             </body>
                        </html>
Here is how it looks to paste that code into the Edit new file
view on your new document.

docs directory and a new index file in it, you should now see the github.io website address where you can view your published index.html.
The site we configured for the introDH-Hub is published at https://newtfire.github.io/introDH-Hub/. Follow your link to see what your new site looks like!Edit new filewindow in your GitHub repository! This is just a simple start as you are learning. Instead, you will work on editing your files locally in the oXygen XML Editor and using git commands to send your files to the remote GitHub repo. You will learn how to do that in the next homework assignments.
Welcome to the Git community! You have successfully completed the basic tasks of setting up a GitHub repository on your personal account and preparing th start of a website on GitHub Pages! You will be developing this site and writing code to style it in the next series of assignments. For now, you are ready to submit Git Exercise 2 by going to Canvas, finding the appropriate Assignment link, and entering the URL (web address) for your new GitHub Pages site.